Buy Any 2 Semi-Cured Gel Nail Strips
& Get a UV Lamp FREE
Buy Any 2 Semi-Cured Gel Nail Strips
& Get a UV Lamp FREE


Cart
0


3D nail stickers
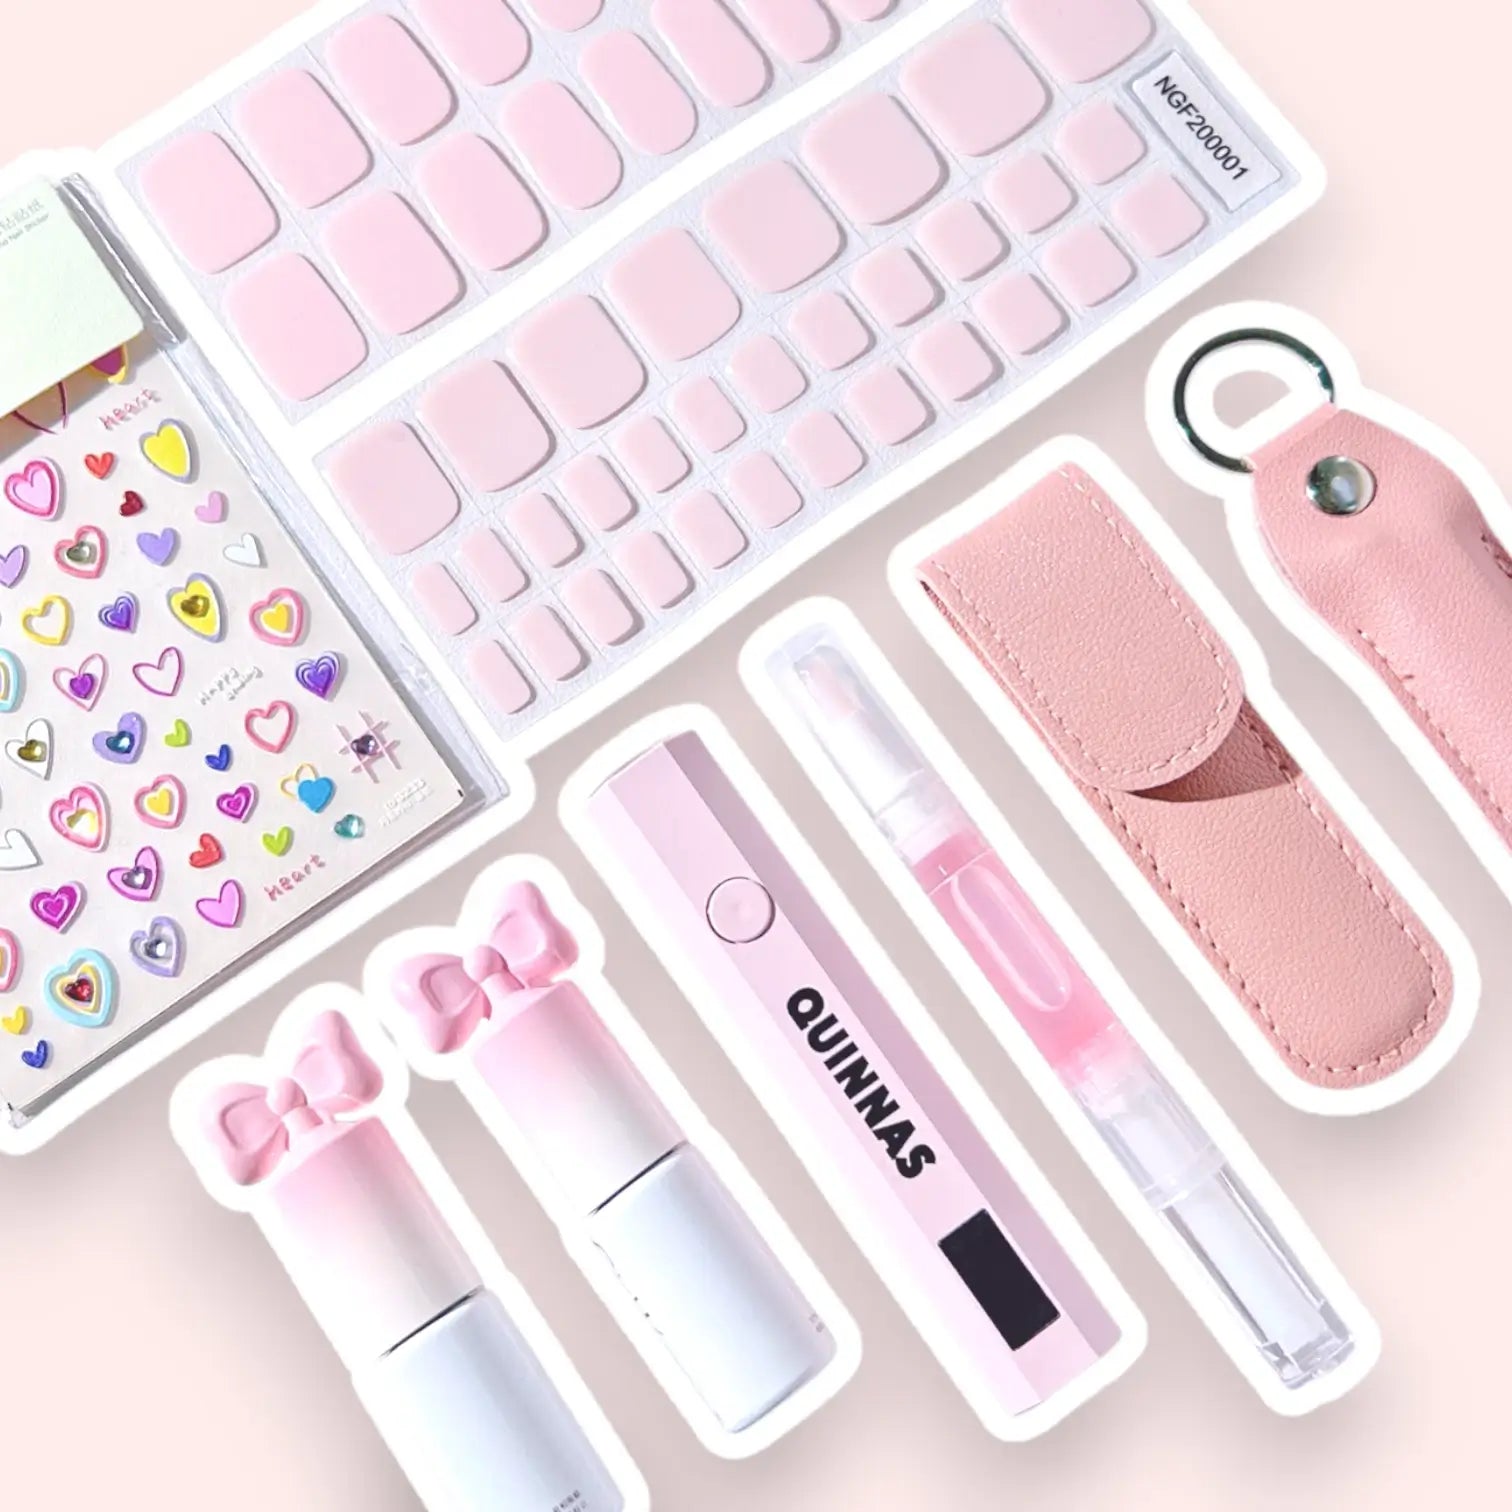
Pink Heart & Bow|3D Gel Nail Wraps - MK0059
👀
customers are viewing this product
🔥 32 sold in last 18 hours
Couldn't load pickup availability
Free worldwide shipping over $25+

Shipping information
- No EU import duties.
- Ships within 1-2 business days.
- Ships in our fully recyclable and biodegradable signature boxes.
- Delivery time depends on your location and usually takes 7–15 business days.
- You will receive a tracking number once your order has been shipped.please check your order email.
About nail strips FAQ
1. How long do semi-cured gel nail strips last?
Our semi-cured gel nail strips can last up to 10–14 days with proper application and care.
To extend the wear time, make sure your nails are clean and oil-free before applying.
2. Do I need a UV or LED lamp?
Yes.A UV or LED nail lamp is required to cure the gel strips and harden them completely.
Once cured, the strips become strong, glossy, and long-lasting just like a salon gel manicure.
Order over 2 or more semi-cured gel nail strips,you will get free uv lamp.(we will add to your package)
3. How long does it take to apply them?
Application usually takes 10–15 minutes.
Steps:
- Prepare and clean your nails
- Apply the nail strip
- Trim the excess
- Cure under a UV lamp for about 60 seconds
After curing, your nails are ready to go immediately.
4. Are these nail strips safe for natural nails?
Yes.
Our semi-cured gel nail strips are made with nail-friendly and non-toxic materials that are gentle on your natural nails.
When removed correctly, they will not damage your nails.
5.Will they damage my nails?
No.
Unlike traditional acrylic or gel extensions, semi-cured gel nail strips do not require harsh filing or soaking.
Simply remove them gently using nail oil or remover.
What is included in each pack?
Each package includes:
• 20 semi-cured gel nail strips
• 1 nail file
• 1 cuticle stick
• 1 prep pad
This is enough for one full manicure with extra strips for adjustments.
Do they fit all nail sizes?
Yes.
Each pack contains multiple strip sizes designed to fit different nail shapes and widths.
If needed, you can easily trim the strips with nail scissors or a nail file for a perfect fit.
How do I remove the nail strips?
Removal is simple:
- Apply cuticle oil or nail remover around the edges
- Gently lift the strip using the cuticle stick
- Slowly peel it off
Do not force removal to protect your natural nails.
Who is it perfect for?
• Busy professionals who want salon-quality nails in minutes
• DIY nail lovers who enjoy doing their nails at home
• Fashion lovers who like to change nail designs often
• Anyone who wants beautiful nails without visiting the salon
• People looking for a quick, easy, and affordable manicure
• It is suitable for use by both individuals allergic to propylene and pregnant women.
Ingredients
Polyacrylic Acid, Polyurethane Acrylate
PPG-3 Glyceryl Ether Triacrylate
Isopropyl Thioxanthone.
May Contain:
D&C Red NO.6 Barium Lake, D&C Red NO.7 Calcium Lake, FD&C Yellow NO.5 Aluminum Lake,
D&C Yellow NO.10,
FD&C Blue NO.9 Aluminum Lake,
Black Iron Oxide,
Titanium Dioxide, Aluminum Powder
Bismuth Oxychloride,
Mica, NO HEMA
Guarantee safe checkout

Pink Heart & Bow|3D Gel Nail Wraps - MK0059
$4.99